Tuesday, March 24, 2015

Blooming and Blendabilities!

I wanted this workshop to be a “blend” of blooming projects and a fun time using the Blendabilities. Little did I know Stampin’ Up! was going to discontinue the Blendabilities the same week of my workshop. Oh well, my projects were already planned and my markers worked fine.


The first project used the Happy Easter Bunny stamp [#137152 Occasions Catalog (OC)], the new Takeout Boxes (#135827 OC); [I hope these boxes make it into the next Annual Catalog (AC)], the Label Collection Framelits (#125598 AC), and of course various Blendabilities. I think this dancing bunny is  loving the idea of Spring and celebrating with friends and family. 
For the next projects I wanted to use the Sale-a-Bration (SAB), A Happy Thing stamp set (#139134 SAB).  I wanted to do a simple card and then a more elaborate card using the Blendabilities. After finding 2 examples of what I was looking for, I decided on the cards shown below.  Starting with the one on the right (simple) this was just a matter of layering cardstock and the stamp image of the single lemon.

The one on the left however was a little more in-depth, but my stampers were up to the challenge. First off, to get the bunch of lemons, we used the technique of stamping and masking off. (See the picture below with the masked off lemons) 

This technique is quite simple, but it does require a bit more of stamping and cutting out the masking pieces to achieve the final overall look.


If you look closer to the background image, then I am sure you are wondering what Designer Series Paper (DSP) that is? Well, it isn’t paper but hand drawn lines using all three colors of the Daffodil Delight Blendabilities. Before you get overwhelmed, this technique was simple. It does require a ruler and the use of the grid paper made it doable. You can start by using either the darkest or lightest shade. Start drawing your lines moving down the same amount of space for the next line. This is an idea you can use for any card if you don’t have just the right colored DSP for layering. 

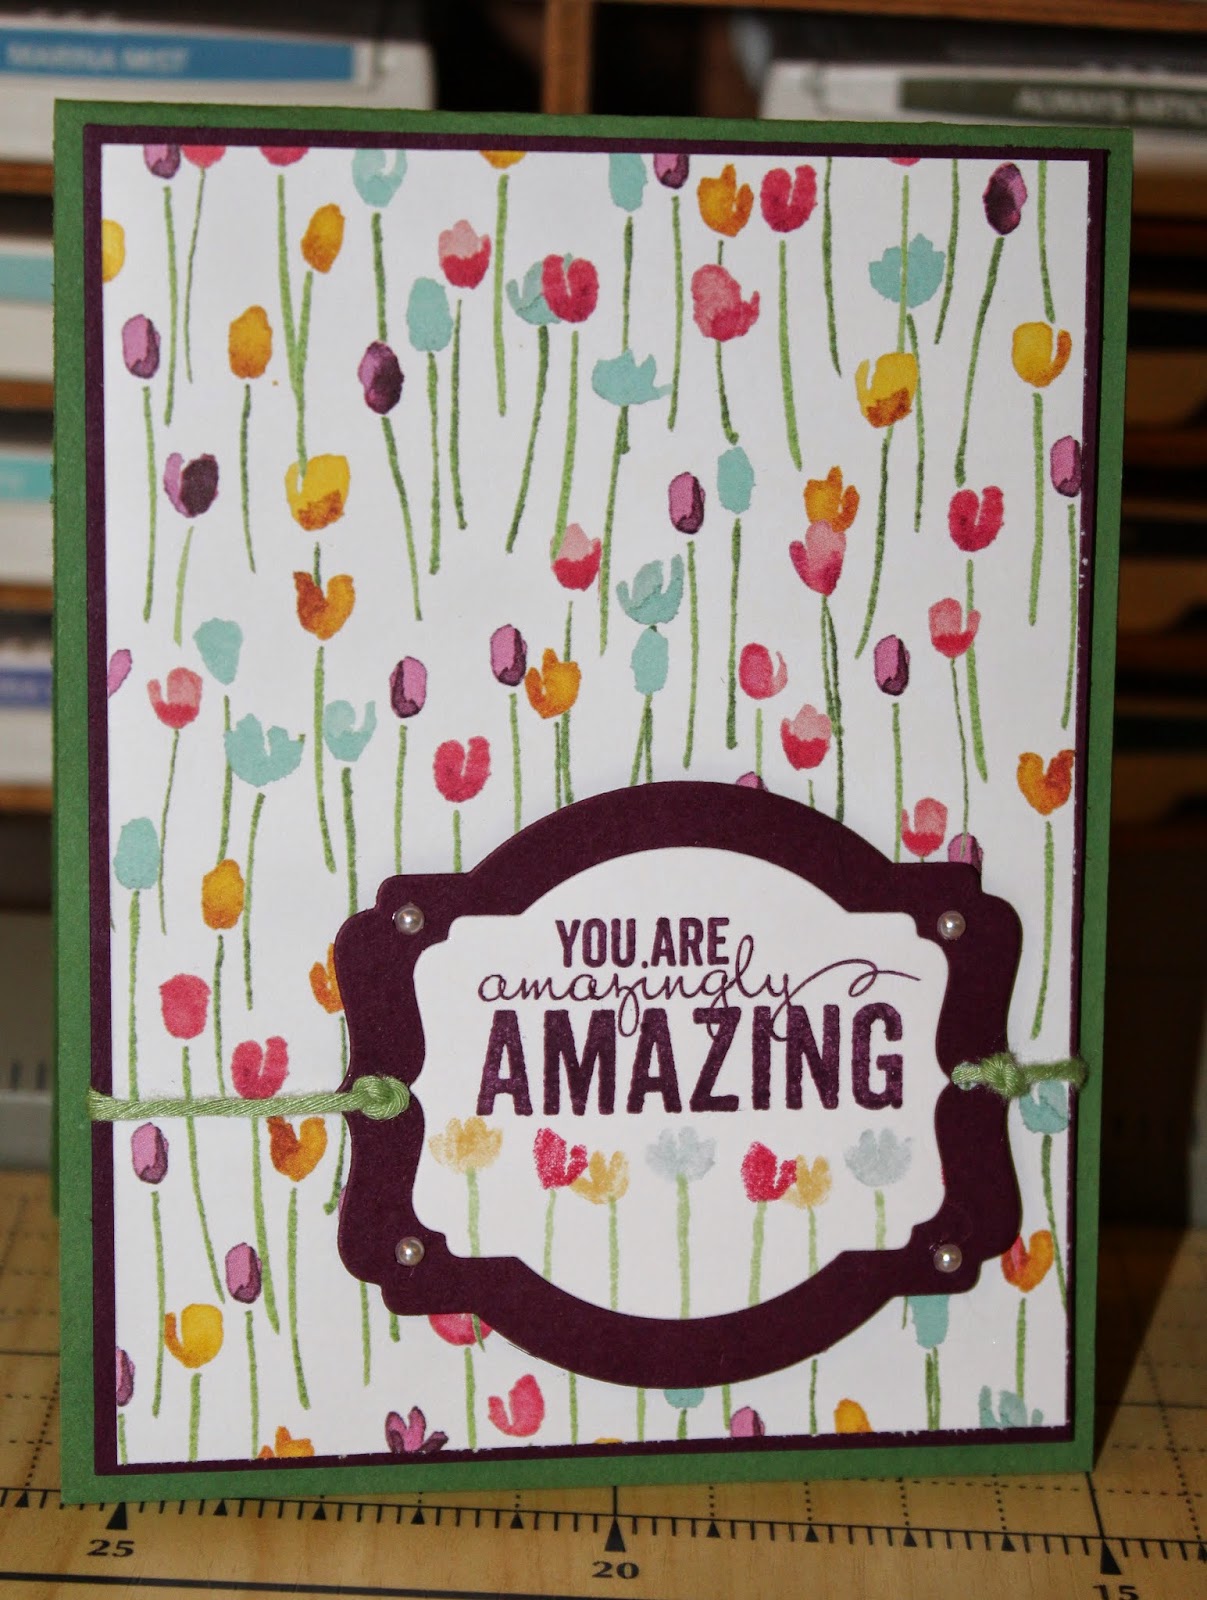
Lastly, I was so excited to use the new Painted Petals stamp set (#137146 OC) and Painted Blooms DSP (#137784 OC). Again, I wanted to do a simple card and then for the final project a vintage inspired card. First, the simple card, this was just a matter of using the beautiful DSP paper and layering it for the background. For the sentiment stamped area, the saying is included. The flowers were done by stamping the stems and then coloring the three flowers individually with the same color markers as the DSP. 
Simple! 

This leads me to my last card. Again, using the Painted Petals stamp set, plus the new Butterflies Thinlits Dies (#137360 OC), the Artisan Embellishment Kit (#137909 OC), the new Sahara Sand 7/8” Lace Trim (#137866), and the Tea Lace Paper Doilies (#129399 AC).  I started by layering the different flower stamps available in the set with different colored inks and then I added in the stems. The fun thing about this idea is that you can add a little or a lot depending upon your feelings at the time. Afterwards, I cut out the image with the Label Collection Framelit die and sponged around the edges a bit. I layered the doily on a base layer of the Wisteria Wonder (sponged edge and free hand drawn stitches) wrapping the lace trim over the doily and finally adding the stamped flowered image on top.


Using the Artisan kit, I added some buttons, a single fabric flower and a touch of the purple felt ribbon on the lace trim. The butterfly was sponged with Perfect Plum and Gold inks then placed on the card.  I know this card was a stretch for me, but having Janice Rosenthal-Rock as your upline manager her love of flowers and vintage was bound to influence me at some point. 


After all of this was said and done, I realized that I totally missed another card that we did. Yep, a total of six (6) projects were completed this month. I have one more card to show you using the Lotus Blossom stamp set  (#139143 SAB), but I think when I finished this month’s swap cards I must have included my workshop sample in my bunch. So, I will send out an updated blog posting with that card later.

As for the FREE SAB products listed here and in the catalog, there is still time to place a qualifying order and earn free items. Sale-a-Bration ends March 31st

Please contact me, if you want to know more about these any other products discussed in this post or to come to one of my Saturday workshops.

Dates for my next workshops are:
May 16th – Projects: Sheltering Tree as cards and Mixed Media
July 18th
September 12th
November 21st

Tuesday, January 27, 2015

Celebrations!

And that was the theme for the cards we created at my first Saturday Stampers group of 2015! As stated in my last post I stopped holding my monthly Mojo Monday groups and went to an every other month group at my house. I wasn't sure how it would work, but I loved it. I felt so comfortable and at ease in my own setting, plus knowing if I forgot something, I just had to run up stairs and retrieve it. The ladies didn't have to worry about rushing to get home after work too. I thinking this may work. 

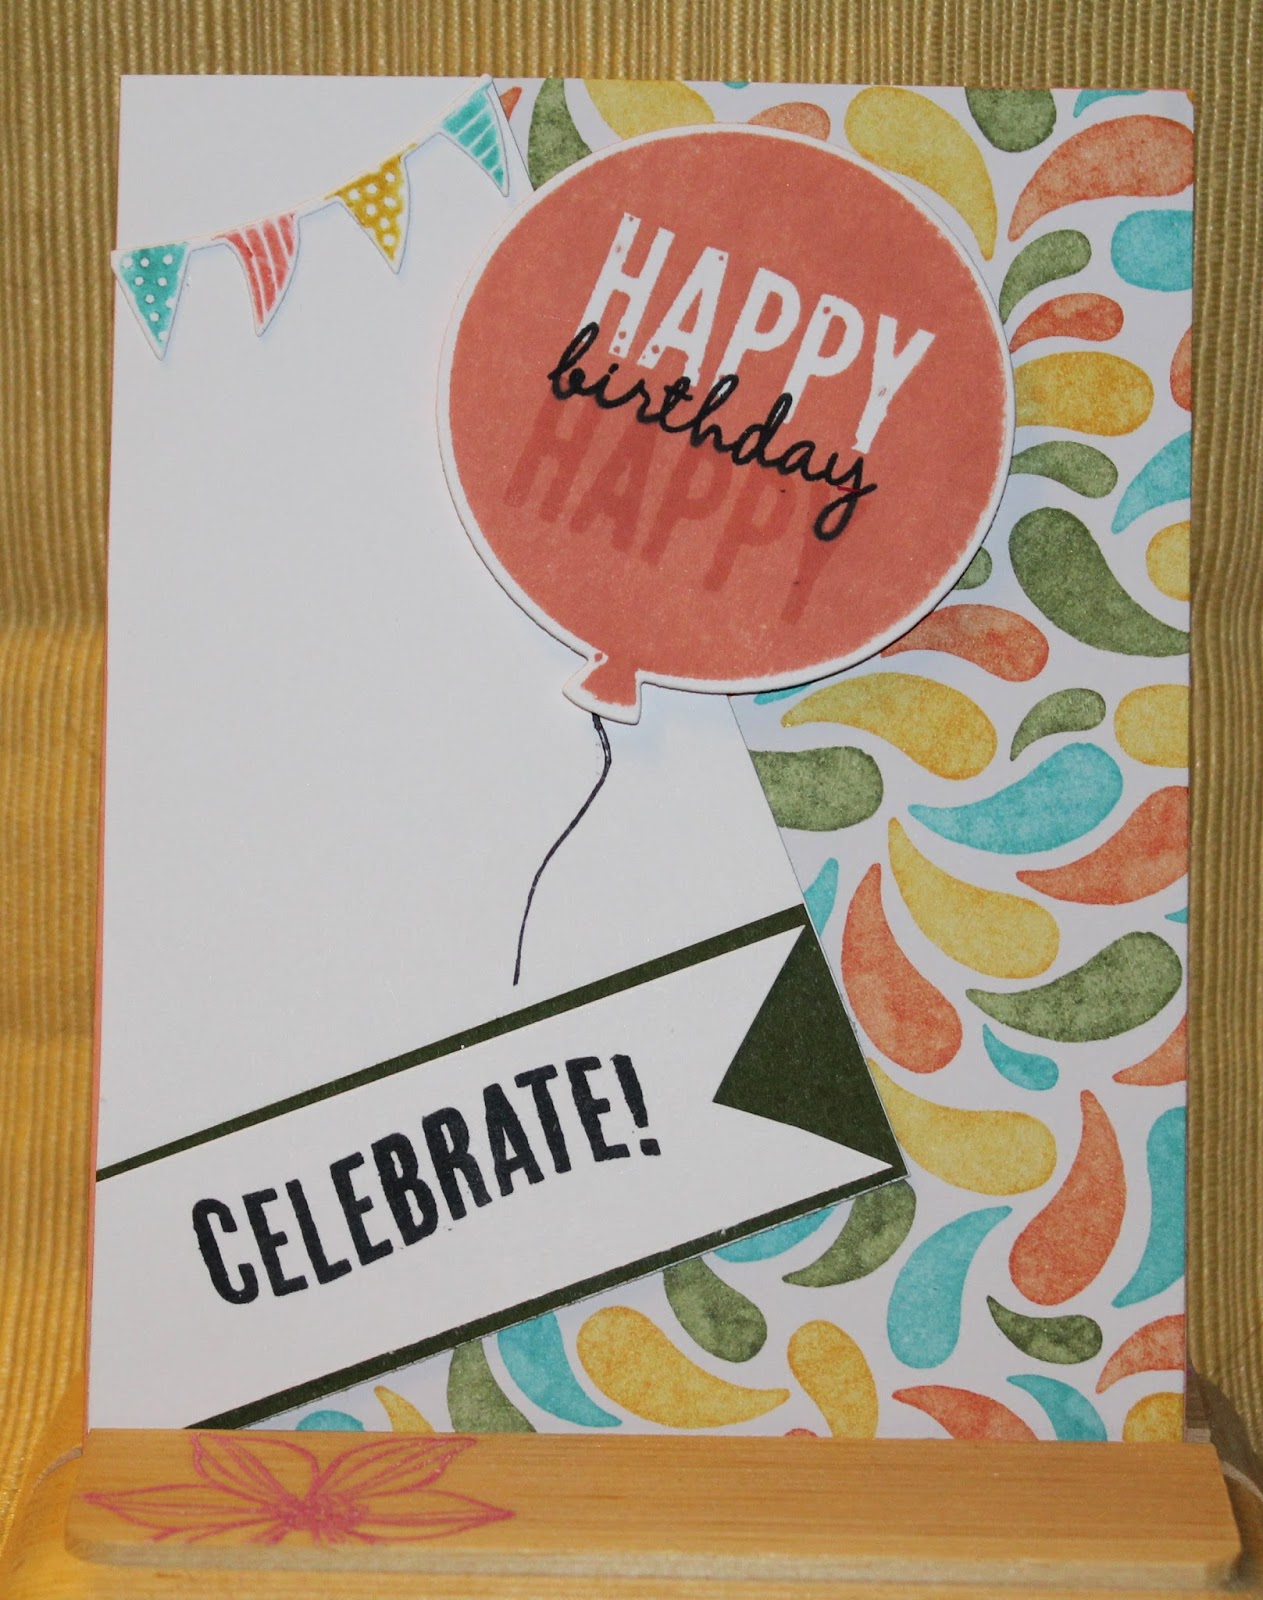
Starting with using the Celebrate Today stamp set, the Birthday Bash DSP, and the Balloon Framelits Dies we created two fun cards for birthdays. The first card was a combination and CASE from a card of Shelly Roberts, thrown in with a card Jen Arkfold had created. The fun of a good CASE card is making it your own. The second cards was inspired by Justin Krieger, I liked how he used the vellum paper for the balloons so you can look through them and see the fun DSP paper. It is hard to see but the Happy Birthday is in gold ink and the DSP also has some balloon in gold. Okay you can see one of the gold balloons in the upper right hand corner. 


The next cards are more Birthday Celebrations. Using the FREE Big Day stamp set; wait did I say free (?), why, yes I did, because it is Sale-a-Bration time (SAB), more on that later…..Using the Big Day set, we created 2 different cards. The first one was done using Memento black ink and then coloring in the letters for some fun, on white for a tag. The top of the tag was finished using the Scallop Tag Topper, new in this years Annual Catalog. Then layering Birthday Bash DSP and some Washi tape (not sure what catalog the tape was from but it is the green with arrows) on Hello Honey, Black and Old Olive card stock . On the inside we stamped the cute sentiment of adding a little ice cream….I like ice cream with my cake, do you?


Still using the Big Day stamp set and this time we used a couple new products; Chalkboard Paper and ColorBox Chalk Ink. “Chalkboard” is so in right now and this is a fun way to use it. We stamped the celebrate your day image with the Yellow chalk ink on the chalkboard paper. To give it a bit more texture, we used clear embossing powder over the top.  The ribbon at the top is Hello Honey Stitched Satin ribbon (I love the feel of this ribbon; it reminds me of the top of a baby’s blanket). The banners behind the chalkboard paper were cut from the Moonlight Designer Series Paper Stacks – would that be DSPS? – I like these 4-1/2 x 6-1/2 papers stacks, they give you a good selection of the same color palate while allowing the you to choice whatever papers strikes your fancy. I love to see everyone’s choices once they add them to their cards. The hearts stamped in the background was from an old set (don’t even know the name) I just liked the added color and I guess I <3 (heart) cake! Inside again used some Washi tape and stamped the cake on a platter in Hello Honey. 


Okay, back to our projects and moving away from cake. This next stamp set is sooooo fun. With the popularity of everyone giving gift cards now, SU really out did themselves. The B.Y.O.P (Buy Your Own Present) has sayings that are suited for birthdays, graduation, thanking someone, baby, wedding and a general one for any occasion. 
I took my creativeness from Chris Slogar’s file card sample and then used the Birthday Bash DSP for my color inspiration. If you look closely you can see some gold confetti flakes in this paper. To highlight the gold flakes, I use our Gold Sequin Trim ribbon and for more fun added the new Pom Pom Trim. I created a tag for the B.Y.O.P. stamp and used the Scallop Tag Topper again for the tag, then colored in the letters. On the inside I created a pocket to place your gift card in, with the stamped image explaining that they get to buy their own present. Are you wondering how we created this file card? Well, by using the SU envelope punch board, yes you can make your own envelopes as well as these fun file cards. 


Finally, next month is February, I had to do one Valentine’s Day card. My trick was to prepare a card without purchasing any new stamps. It is not that I don’t like any of the new stamps; I just knew I won’t reuse them later on. So, I pulled out my Label Card Thinlet set and it has the I (heart) u cut out, perfect.  But that wasn’t enough; I started looking around and grabbed the Chevron punch, the Heart from the Itty Bitty Accents Punch Pack and the new What’s Up punch. While I was looking around, I found the Be Mine stamp in the A Round Array set that was just enough to bring this all together. I think it worked. 


More about the FREE Big Day stamp set and SAB. Once a year when the new Occasion mini catalog comes out SU likes to reward their customers with FREE products. How do you get these items, for every $50 you spend, and that can be from the annual or mini catalog. The SAB products available to you are stamp sets, ribbon and button accessory packs, DSP, Project Life products, and added this year are Blendabilities Markers, the selection is wonderful. 

Please contact me, if you want to know more about these FREE items or any other products discussed in this blog or to come to one of my Saturday classes.
Dates for my classes are:
March 14th – Theme: Blooming
May 16th
July 18th
September 12th
November 21st


Thank you for stopping by and I hope you have some wonderful Celebrations this month too!


Thursday, January 1, 2015

Welcome 2015

Wow, what a year this has been; many lows, but many highs (I choose to remember the highs!) one my highs has been stamping with my crafty friends this past year, you have given me strength and encouragement throughout the year – thank you.

With that said, I will be bidding ado to my Mojo Monday’s in 2015. I believe it course has run its self out. This doesn’t mean I am giving up stamping or Stampin’ Up – I am just charting a new course and will be holding my classes now on Saturdays, at my home in Lincoln and every other month.

The new “group” will be a bit more of a social gathering of crafty women (men are invited too). We will start at 10:30 am, we will do at least 4 projects maybe more or the opportunity to make duplicates of the cards, and the cost will be $20, remember that includes all the materials (except your adhesive). Of course the cards will feature the most current SU products and I have the new Occasion and Sale-a-Bration catalogs.

For now my tentative schedule is:
January 24th – Confirmed
March 21st
May 16th
July 18th
September 19th
November 21st

Our first class will be based on new SU product from the Occasions and SAB Catalog and will be about Birthdays and Celebrations. For March, I have planned a “Blooming” theme – yep flowers – I know different for me, but love the new stamp sets. I have some ideas for a Travel theme in the future, I just haven't gone that far out yet. 


I know this change won’t work out for some of you and that is okay, I am sure our crafty paths will still cross. Being that the class will be every other month I am hoping you will be able to make it now and then.  Plus, I am hoping Janice and I will still do our annual Handmade Holiday event – more to come on that later this year.

So this is my new start to the New Year and with a new schedule, and I am sure you noticed the new look to my blog page. I am excited about 2015 I hope you are too. Thanks for stopping by and I hope you can make it to my new "group" for stamping.